How to graft a rosebush step by step
It is one of the most common practices among those who grow these plants. How to graft a rose bush is a simple technique that, although it is usually carried out in professional gardening, can also be done in home gardening. That is why it is important to know what a graft involves but, above all, how to carry it out if we intend to experiment with our plants.
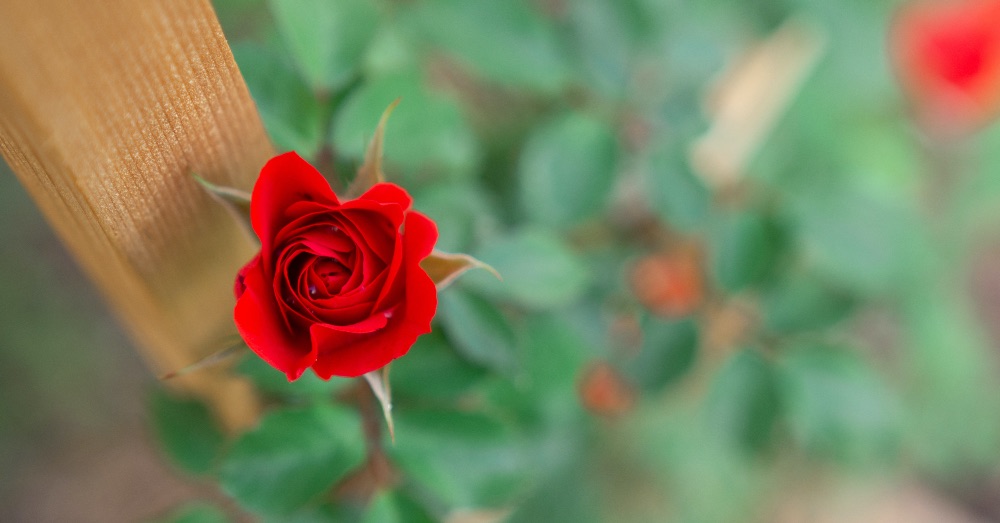
The rose is not only one of the most cultivated flowers in the world. It’s also a favorite for both plant lovers and those with a passion for floristry. Precisely because the cultivation of rose bushes is for many people a true cult object, most of the different types of roses to plant that we enjoy in the gardens are, precisely, grafted. Something that, although it may be shocking, has important benefits for this type of plant.
For all these reasons, it is interesting to discover why this technique is key to growing this wonderful flower. And, what is even more important, how to graft a rosebush correctly.
HOW TO GRAFT A ROSE BUSH STEP BY STEP
Let’s start by fully understanding what it means to graft a rosebush. In general, a graft is a very common propagation technique in woody plants, although it is also very common among grafted plants for orchards. It consists, in a very basic way, in uniting two different plants so that they grow as one. The objective of this unique fusion is, fundamentally, to obtain plant species that are more resistant to pests, drought and other meteorological factors.

In the case of the rosebush, there are other added reasons to bet on this technique. And it is that grafting a rosebush also seeks to improve both quality and quality of the flowers. Obtaining more fragrant, fluffier or longer-lasting flowers are some of the reasons that have historically led to the practice of this technique with these outdoor plants.
With these details understood, let’s see how to graft a rosebush step by step. An extremely simple task that, despite this, must be thoroughly understood to be successful.
1. Choosing the right moment, crucial in how to graft a rose bush
Although it is a common practice, we must know that a graft does not stop inflicting damage on a plant. Therefore, this task cannot be done lightly or when we feel like it. In the same way that we take into account when to prune rose bushes and how to do it, we will have to look at the calendar if we want our cutting to take root properly.
Generally speaking, the best times for a graft are between spring and summer. You have to know that one of the keys for a graft to take root is that the sap of the plant must be in circulation. If we delay the task until the fall, we will have to take extreme precautions with frost.
Apart from the time of year, there is another aspect to consider. The best time to graft is a week after the flower has faded. And we cannot neglect this: we will take the buds to graft from the floral peduncles.
2. Water a few days before grafting
An essential detail. Keeping the plant well hydrated the days before grafting will play in our favor. In this way, our rosebush will be nourished and in perfect condition to take on the process.
Important: the day we are going to graft a rosebush, it is important to stop watering.
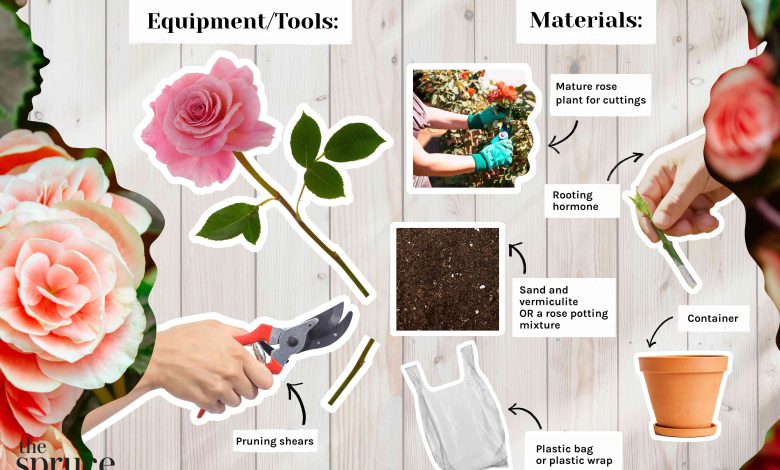
3. Select and disinfect the tools that we are going to use
A starting point, both to correctly prune the plants and to make grafts.
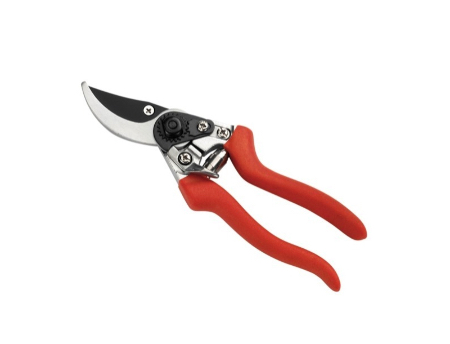
Not only will we have to guarantee that the pruning shears and the knife that we use are free of rust and properly sterilized. It is also essential that we check that the edges cut correctly, since the objective is to make a cut as clean as possible. Or put another way: to minimize the aggression it poses to the plant.
4. Prepare the pattern to attach it to the yolk
Let’s bring this term down to earth so that it is understandable. The rootstock refers to the plant that will support the graft. To play this role, the most resistant plant that is always well rooted is usually chosen.
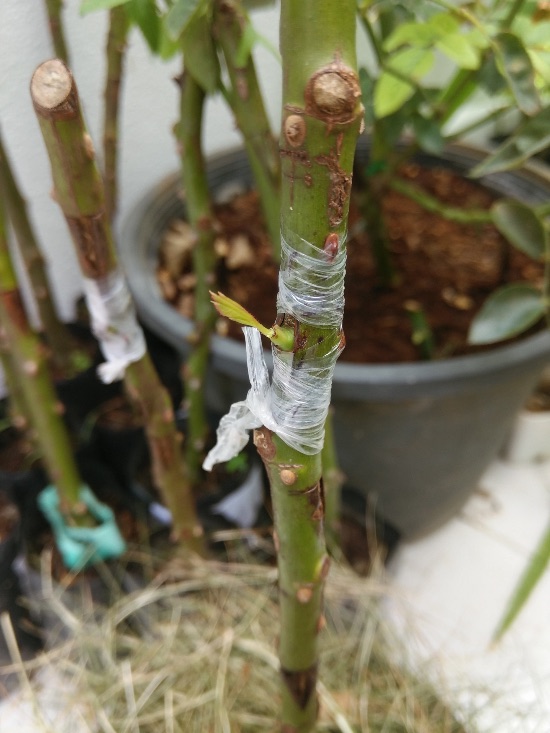
The most common formula when we ask ourselves how to graft a rosebush is the escutcheon graft. It consists of making a T-shaped incision, also inverted, in the central trunk of the rosebush. We will only cut the bark, without going too deep into the stem to avoid damaging it. It is not the only reason for this: if we go too deep, the bud will not graft correctly.
With our T prepared, it is time to place the yolk. We will remove part of the exterior wood in a bevel, and place it on the incision in the central stem of the pattern. It should be slightly embraced by the bark of the stem. To finish, we will cover the graft area, exerting a little pressure to promote union. We can use raffia, transparent film or even a piece of gardening blanket for this.
And now we just have to wait to see if nature works its magic. An impasse that, in most cases, will give us the gift of seeing how that attached stem begins to sprout, giving rise to a unique and different rosebush.

![Photo of Callistemon Citrinus: [Characteristics, Cultivation, Care, Pests and Diseases]](https://www.complete-gardening.com/wp-content/uploads/2022/08/callistemon-citrinus-characteristics-cultivation-care-pests-and-diseases-390x220.png)
![Photo of Types of Eggplants: [Names, List and Characteristics]](https://www.complete-gardening.com/wp-content/uploads/2022/08/types-of-eggplants-names-list-and-characteristics-390x220.jpg)