Aromatic plants in pots: How to grow step by step
We have already seen in other articles that aromatic plants have many advantages in the organic garden. These plants are very useful intercropped with the vegetables and garden vegetables because, thanks to their strong smell, they repel pests and enhance the flavors and aromas of the vegetables that grow nearby.
In addition, aromatic plants are very useful in the kitchen, and they are easy to grow in pots. For all this, a couple of friends and I have decided to start growing aromatic plants in pots. We will make an aromatic planter to put next to our cherry tomato plants, and today I will show you how we have started with our aromatics in pots step by step.
In this and future posts I will tell you how we do it and how our aromatic plants in pots evolve. Let’s do it! The small aromatic flowerpot in our patio is already underway!
Steps to grow aromatic plants in pots
1. Choose aromatic plants
In the previous post, Growing aromatic herbs for cooking, we saw some of the most common aromatic plants and their uses for the kitchen. Although there are many more, these are some of the most used in Mediterranean cuisine, which is why we have decided to make a selection from among those eleven plants we are talking about.
The plants that we have chosen and why:
- Basil: because I really like pesto and basil leaves in a salad. Also because it is a beneficial association between basil and cherry tomato (which we are also going to grow in our potted garden).
- Chives: for its multitude of uses in the kitchen. It is very versatile and is used to decorate and flavor a lot of dishes.
- Oregano: because we love the touch it gives to pasta, pizzas and a lot of other dishes. It is also a perennial plant, so it is comfortable that it will grow more and more and we will not have to plant it next year.
Together with these three aromatics we will grow cherry tomatoes. As it is already a little late to start from scratch with the tomatoes, we have directly bought the seedlings or seedbeds already made, a tomato seedling with 6 little plants that we will transplant into the appropriate pots.
We have done the same with oregano: buy the little plant already a little grown, since otherwise we would not be able to harvest it this year, but would have to wait until next year when it blooms. Of basil and chives we have bought ecological seeds with which we will do direct sowing.
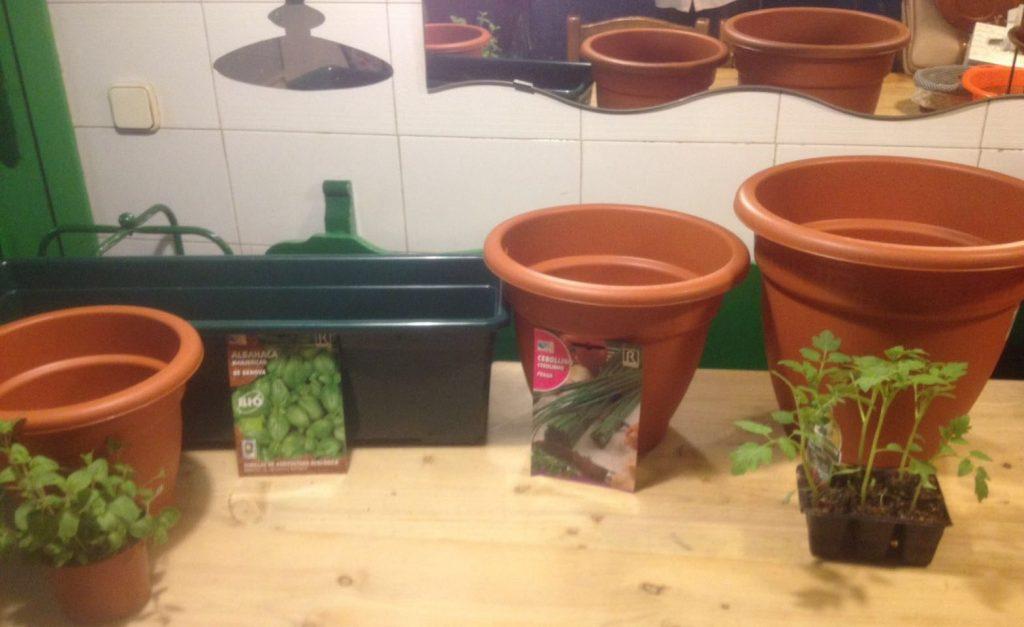
2. Choosing containers for potted herbs
We have bought plastic containers of different sizes, according to the needs of each plant:
- Cherry tomato: as they need a minimum depth of 30 cm and they are plants that grow a lot, we have chosen for each tomato plant a circular pot 35 cm deep and x cm in diameter.
- Basil – The minimum depth is 15cm, so we have bought a 15cm deep box and will be growing several basil plants throughout the container.
- Chives: the depth that this aromatic needs is greater than that of basil, so instead of putting them together we have bought a deeper pot (25 cm) where we will put a couple of bushes and, if we see that it fills up too much, we will We will divide into two pots.
- Oregano: we have used a pot that we had at home, 20 cm deep. In my opinion it is a bit small but we will see it… if we see that it grows a lot we will transplant it to a larger one.
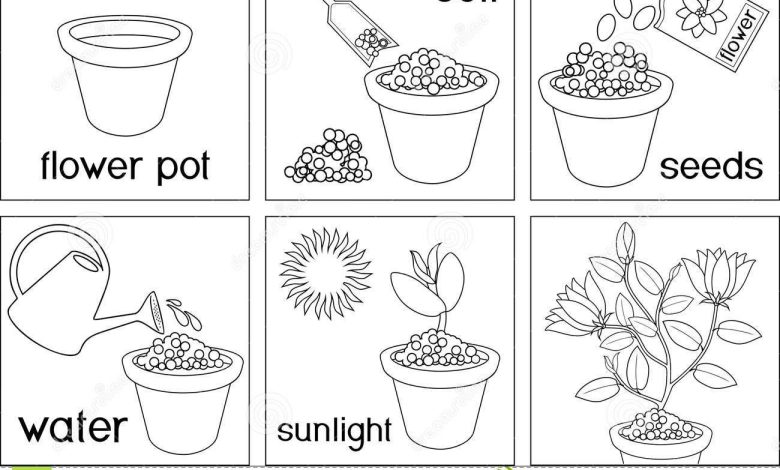
3. Choose the substrate and prepare the containers for aromatics
As aromatic plants are not too demanding, we have not complicated ourselves much, we have used a universal substrate.
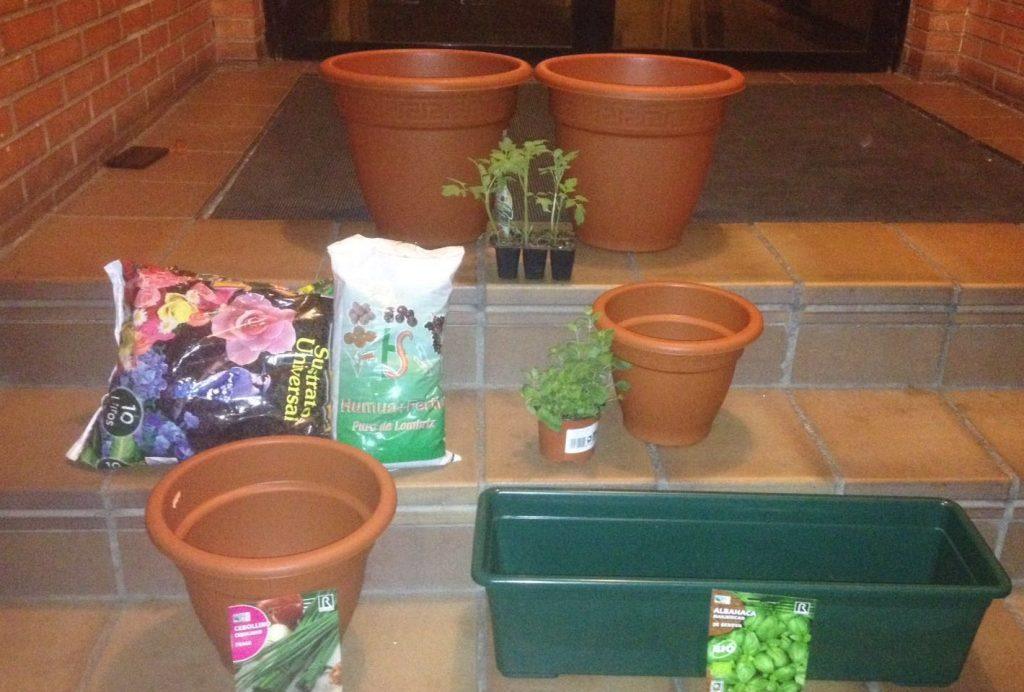
As you have seen in the video, not all «universal substrates» are the same… to begin with, the price says it all… so since the 10-liter bag that we had at home (the one in the photo) was quite «malillo», We have bought a much better quality 25-litre sack, and this one, which is of poorer quality, will be placed at the bottom of the pots.
To make it more fertile and also ecological, we have also bought a bag of earthworm humus and, for the bottom, small stones or clay gravel. We will see in the next post how and in what proportion we put it in the pots.
The first thing before filling them is to make holes in the containers (if they are not already made). With a drill we make holes in the base of the pot so that the excess water can come out when we water and the plants do not get waterlogged.
4. Seedbeds and transplantation of aromatic plants in pots
We are now ready to sow and transplant the aromatic plants in pots and place our aromatic planter in the right place!
You can see the following steps on the cultivation of aromatic plants in pots in the following post: How to grow aromatic plants step by step. I hope you will comment if you have any questions or give us any advice for our small potted garden. All the best!
![Photo of Transplant Rosemary: [Steps to follow and Data to take into account]](https://www.complete-gardening.com/wp-content/uploads/2022/08/transplant-rosemary-steps-to-follow-and-data-to-take-into-account-390x220.jpg)
![Photo of Kiri: [Cultivation, Irrigation, Care, Pests and Diseases]](https://www.complete-gardening.com/wp-content/uploads/2021/06/Kiri-390x220.jpg)