How to make a tomato seedbed: Planting tomatoes step by step
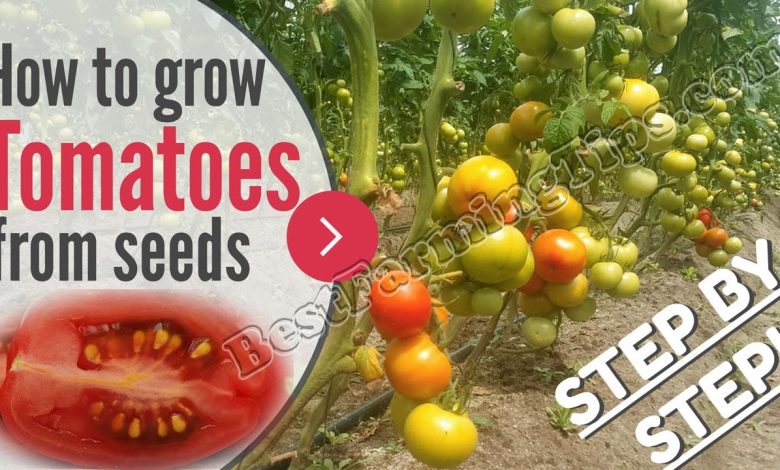
Today we will see how to make a homemade tomato seedbed and I will show you the photos of the steps that we have followed to plant a tomato plant.
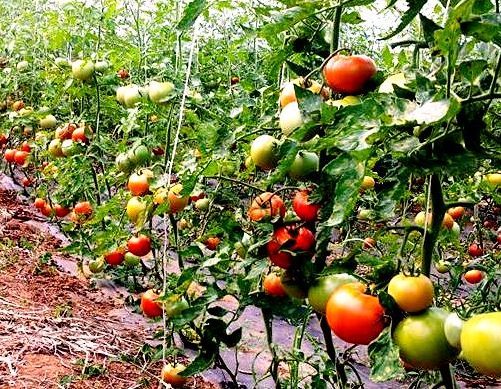
Tomatoes are one of the “star vegetables”, plants that almost everyone would like to have in their urban garden or family garden. But planting tomatoes and having a successful harvest is not an easy task, tomato plants require a lot of care and are demanding in nutrients.
When to sow seedling tomatoes?
To begin with, it is important to make a tomato seedbed instead of sowing directly in the final soil or pot, in this way the small seeds will have more possibilities to germinate and give rise to good tomato seedlings.
The best time to plant tomatoes is late winter or early spring (in Spain, from February to April).
To know exactly when to plant tomatoes in seedbeds, you first have to determine what will be the moment of planting or moving the plants from the seedbed to the final land. That moment will be when the temperatures begin to soften and the risk of frost ends in the area where you are going to grow. Once we know approximately the moment of planting, we will count backwards to know when to make the tomato seedbed.
For example, we are going to make a homemade tomato nursery and then we will plant those tomatoes in Ávila, in a town in the Sierra de Gredos. In that region, frosts can last until well into spring, so we will not risk the tomatoes freezing and we will plant them quite late, at the end of May, or even the beginning of June. Therefore, we will count back approximately two and a half months and the result is that, in our case, the best time to make a tomato seedbed will be mid-March.
Materials to make a tomato seedling
Next we will see the basic materials and tools that we need to make a homemade tomato seedbed.
tomato seeds
There are many types of tomatoes and therefore seeds of many different varieties. You can buy certified seed of your favorite tomatoes at a horticultural or garden store (the typical seed packets), or you can use the seed of your own tomatoes, as we have done.
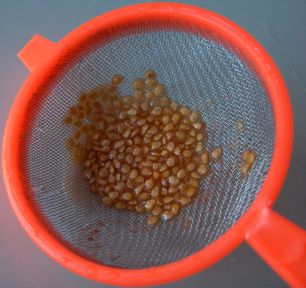
The first thing we did was soak the seeds for a few days. In this way we get them to hydrate and make germination in the seedbeds easier. As you can see in the photo, we put a handful of each type of seed in a small glass of water and left it for about 3 or 4 days until the time of sowing in seedbeds, which I detail below.

Substrate or «ground»
In our case, we use a commercial and ecological substrate that we buy in a garden store as a «substrate for seedbeds», which contains earthworm humus to provide more nutrients. You can also create your own ideal substrate by mixing soil, compost, worm castings or other components of the substrate.
Containers for growing tomatoes
You can buy a container for the seedling or seedbed or also make homemade seedbeds using recycled materials (cups of yogurt or other desserts, a milk carton, egg cartons, Styrofoam or plastic boxes…).
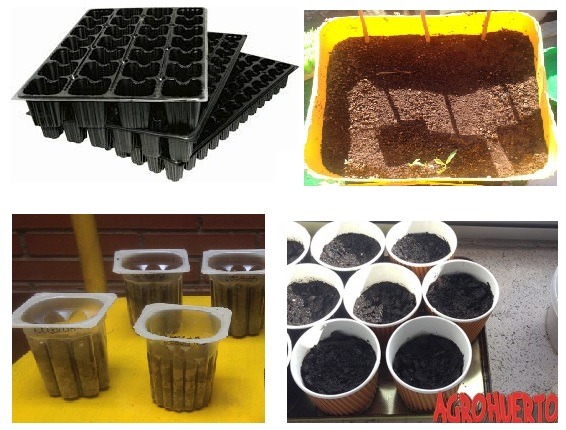
Any container that you can make some holes in the bottom and that is at least 4-5 cm deep is valid for making a tomato seedbed.
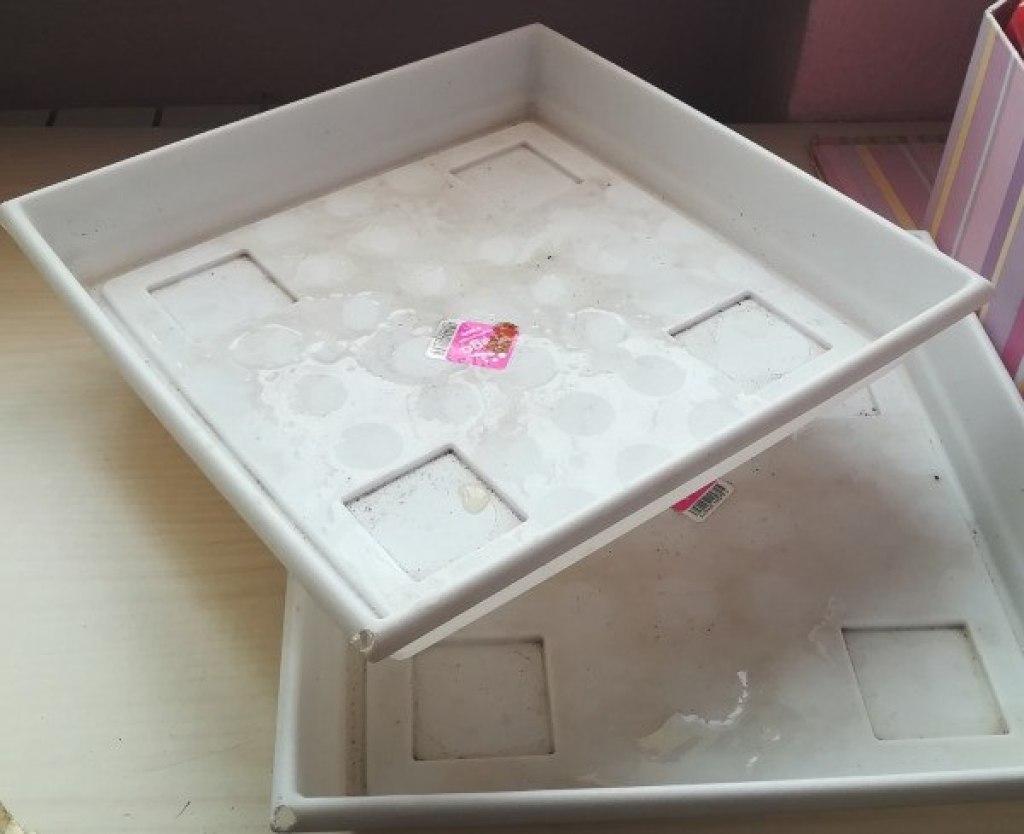
Some trays to place the seedlings
To collect the excess water and avoid staining anything at home, some trays will be necessary to serve as a support for the tomato seedlings. These were the ones we chose:
a water sprayer
As we will see later in the steps to make a seedbed, it is necessary to irrigate after sowing. To get the soil moist but prevent the water from dragging the seeds to the bottom of the container, we will water with a spray or water sprayer.

How to plant tomatoes step by step
Next we will see how to make tomato seedlings, how to care for the plants during the first weeks of their growth and how to plant tomatoes.
1. Prepare tomato seedlings
Buy or make the containers for the seedbeds. If they are recycled seedlings, such as yogurt cups or some kind of box, it is very important to make some holes in the bottom so that the excess water can escape through there. (Purchased seedbeds usually come already provided with holes in the bottom of each alveolus or hollow).
2. Fill the seedbeds or seedlings with the substrate
With the help of a spoon or any similar instrument, fill each of the alveoli of the seedbed or the recycled containers that you have chosen.
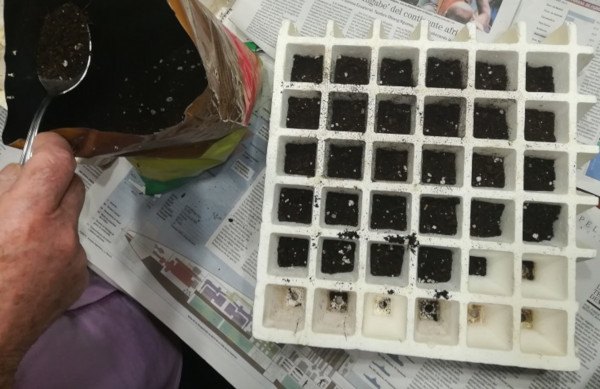
Do not fill them completely, since later you will have to put the seeds and add more soil on top. Then place the seedling or seedbed on the tray you have prepared.
3. Sow or insert the seeds into the ground
With the help of a pen, a stick, or similar, make a hole in the substrate approximately half a centimeter deep. In that hole we will place the seeds that, as we saw before, have been soaking for a few days to hydrate and germinate more easily.
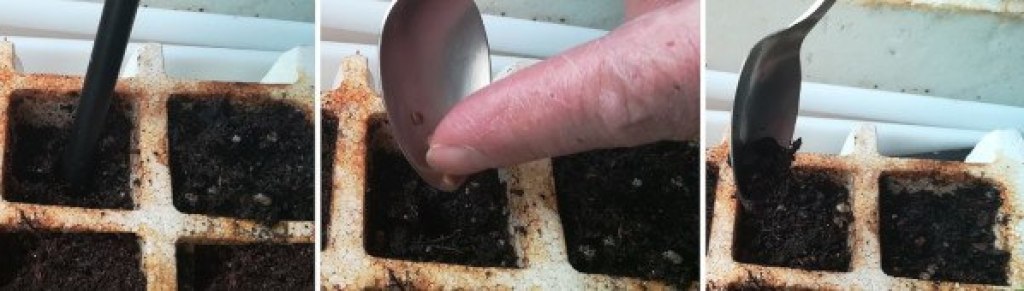
To sow tomatoes at home, it is important to place two or three seeds in each of the cups or spaces in the seedbed, since 100% of the seeds do not always germinate. Then we will fill the hole where the seeds are with a little soil so that they are covered.
We will repeat the same operation in each alveolus until we have sown the entire tomato seedbed.
Once the tomato seedbed is finished, it must be placed in a place protected from the cold (at about 15-20ºC) and where it can receive sunlight. (We have decided to place our tomato seedlings on a table under a window, where they receive sunlight throughout the afternoon).
4. Water by spraying water with the help of a spray and wait for the seeds to germinate
As we saw before, during the period before the seeds germinate (that is, before the first green shoots appear), it is very useful to water with a spray or water sprayer to prevent the seeds from sinking.
And… after a few days watering the tomato seedlings… Voilà!! The first buds or tomato cotyledons will begin to appear ! They can take from 5 or 6 days to even two weeks to appear, depending on the humidity of the seed, its depth, the state of the soil…
A few weeks after sowing, this is what our tomato seedlings look like:

5. Irrigation and transplant
Once the seedlings have germinated, water the seedbeds with the help of a bottle or a small watering can (always avoiding wetting the leaves, as fungi could come out). Water the seedbed every two or three days, making sure that the soil always has some moisture or that there is water at the bottom of the tray.
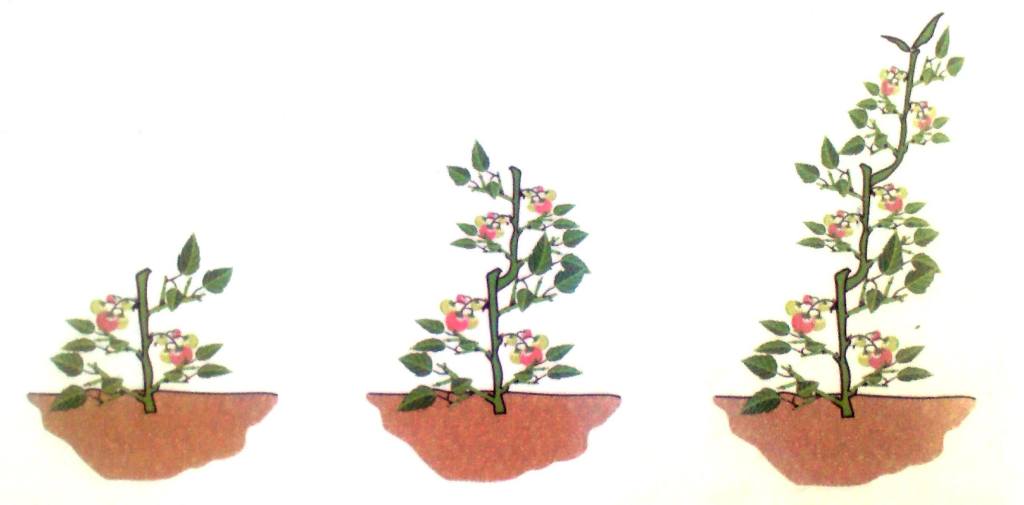
Two or three months after sowing the tomatoes in seedbeds, that is, in mid or late spring, when there is no longer any risk of frost, the seedlings can be removed from the seedbeds and the tomatoes can be planted in the garden or in the pot where we will grow them.
If the seedbeds are very small (as is the case of the ones we made and that are seen on the right of the photo) or if the risk of frost forces us to delay the transplant or planting, it is advisable to make intermediate transplants, in a pot or planter, for example, where the roots have more room to develop and the plants grow better before being planted in the final place.
The last step is the transplant or planting of the tomato plants to the definitive land; but that’s another story… I leave you the link to a post by Álvaro about transplanting vegetables, in which you can find a video with the best tips for transplanting step by step.
If you have already managed to make a homemade tomato seedbed and want to know other tricks to get a good tomato harvest, I recommend you read the post Growing tomatoes in the garden step by step. How to plant and care for tomatoes, where you will find advice on irrigation, pruning and other cultivation tasks.
References
- Vallés, 2009. The urban garden. Organic cultivation manual on balconies and terraces.
- FAO, 2013. Tomato cultivation with good agricultural practices in urban and peri-urban agriculture. FAO & Ministry of Agriculture, Livestock and Fisheries of Argentina. ISBN 978-92-5-107779-3
- Macua González, JI et al., 2017. Outdoor horticultural crops: Tomato. Cajamar Publications Caja Rural. Agricultural Series, No. 13, p. 437-470.

![Photo of Prune a Cactus: [Importance, Time, Tools, Considerations and Steps]](https://www.complete-gardening.com/wp-content/uploads/2022/08/prune-a-cactus-importance-time-tools-considerations-and-steps-390x220.jpg)