How to prepare the ground and make furrows: Complete guide
Today we will see how to prepare the garden plot and make furrows. Seeing the cool videos that Álvaro makes, I have a bit of healthy envy and I have decided to make my own section on AgrohuertoTV, our YouTube channel.

Agriculture for Rurbanites
It is called «Agriculture for RURBANITAS», that is, agriculture for those who, being completely from the city, want to undertake the adventure of cultivating a garden, either at home with a few pots, on a terrace, on the land of a chalet or in a neighborhood community garden.
They will be very simple and educational videos for those who have not had much contact with agriculture, although I will also try to record visits to some orchards and testimonies of their participants, so that you can see different ways of practicing organic farming.
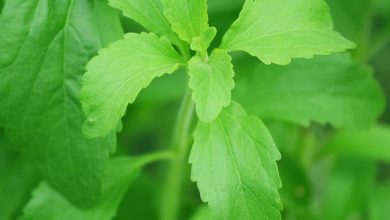
The first of these videos, that is, the one in this article, talks about how to prepare land that was previously full of weeds and turn it into furrows to plant or transplant our crop.
The recording is not very good, it’s my first video, but I hope it’s enough to illustrate how you should do it, and I promise to improve it for the next ones.
Tools for preparing the ground and making furrows
The first thing is to prepare the necessary tools to carry out our work:
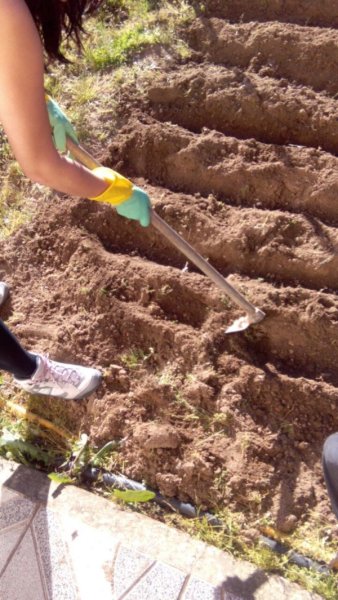
- Hoe: It is the main tool since with it we are going to till the ground, lift the weeds and dig those furrows that interest us.
- Rake: It is not essential but it helps a lot. With it we will smooth the ground while removing weeds that may have remained in the bed.
- Gloves: If you don’t want to leave your skin and fill your hand with calluses and blisters, I recommend that you use them, you’ll appreciate it! In addition, the rods of the implements are usually made of wood and you can get splinters, so if you wear gloves you will avoid this uncomfortable mishap.
- Cap, hat, cap…whatever you want: Very, very important if you are working in full sun! I recommend that you avoid the hours of maximum sunshine to avoid heat stroke, and that you use sun protection. Although it seems more like a warning from the beach than from the garden, sometimes we do not realize the amount of radiation we are receiving and the problems that it can cause to our health.
I have chosen these tools because they were the ones I had at hand, but you have other types of manual tools that can help you till the garden. You can consult the article « Manual Tools for Cultivating the Garden « where I talk about the great variety that exists in the market.
How to prepare the ground step by step
Once we have everything we need, we will start with the preparation of the land. I don’t know if you appreciate how the land in the video was, but it was full of weeds because it hadn’t been tilled all winter, and finally I left it without a single one.
That is what we intend in this first step, to eliminate weeds and obtain a soft soil, without compaction that allows good aeration and water retention for the correct development of our crop.
Before moving on to dig in the hoe, it is very important that you make sure that the ground is in temperature…
What is the temperature?
Let’s say that the weather is the optimal state of the land to carry out work on it. It really is a point of humidity, neither too dry nor too humid.
If when plowing dust comes out of the ground… ERROR! The soil is too dry to work and can lead to erosion loss. What I recommend in this case is that you water it and wait for it to dry, although not too much.
In the video I tell you to wait until the next day, but this is just a guideline, sometimes you will have to wait a little longer and sometimes a little less, depending on the weather and the type of soil. The important thing is that you notice that it has an adequate amount of humidity, since we are not interested in it being too wet either.
In the video I did not irrigate because it had been raining the day before and the humidity point was adequate to start tillage.
Hit the hoe and smooth the ground
Once the ground is in the right condition to plow, it’s time to start the hard work. You should take the hoe and start sticking it into the ground using a lever movement to lift the soil and dislodge the roots of the weeds. Try to pull them out completely, that is, from the root, otherwise they are very likely to grow back easily. Some of them will cost you quite a bit to pull them out, they hold on very tightly!
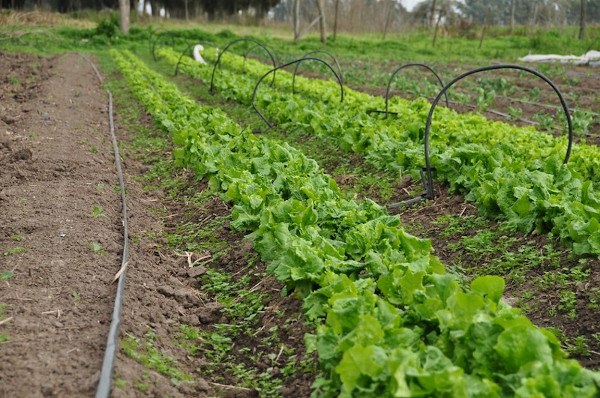
After a while of effort and work you will have your land free of weeds and light. Take the rake and smooth the ground sweeping the remains of adventitious weeds that we have removed. It is ready to sow or plant if you do not want to do it in furrows.
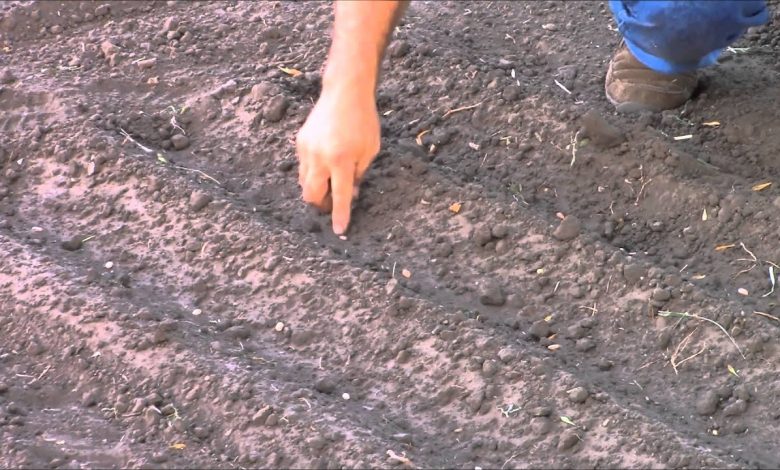
How to make grooves in the ground
To create the furrows you must pick up the hoe again. You have to make rows of mounds of earth with a channel in the middle where the irrigation water will pass. You must go throwing earth to one side and another as I do in the video. You don’t need to drive the hoe much, don’t go too deep.
That’s all, I hope you liked the article and the video and, above all, that it has helped you to prepare your land and make furrows in your urban garden. I wait for you in the next article!

![Photo of Hostas: [Care, Sowing, Irrigation, Substrate and Possible Problems]](https://www.complete-gardening.com/wp-content/uploads/2021/06/hostas_1592773566-390x220.jpg)