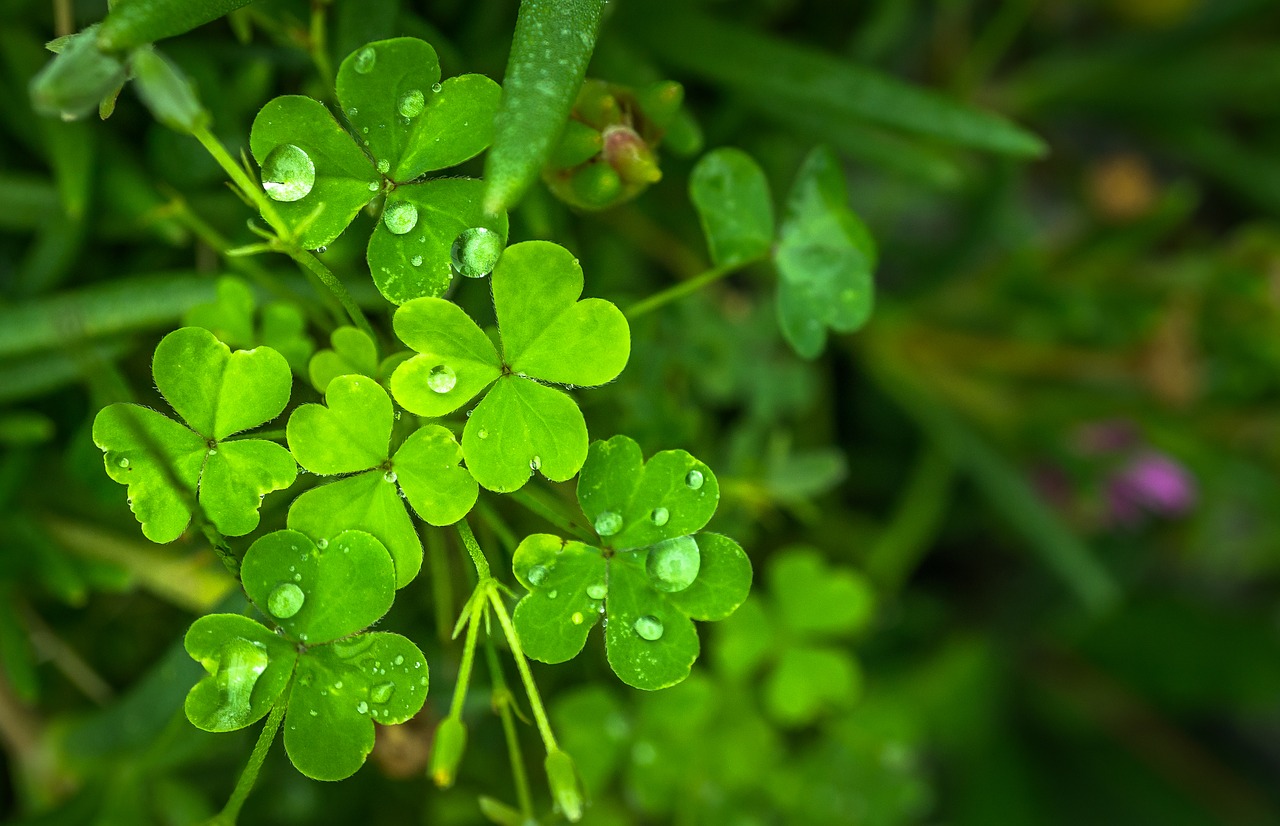
Clover

In Ireland they know perfectly well what the clover is, what’s more, they perfectly know everything there is to know about its care, characteristics, properties and even the infinite legends attributed to it. Now you will understand why it has become the national symbol of that country.
In Ideas Verdes, green is also a sign of identity. Any innovation, sustainable trend and cutting-edge technology has a place, not to mention the world of DIY and love of nature.
The clover will be the protagonist on this occasion, you will discover everything you need to know about its care and needs, as well as the attention that one of the most striking, beautiful and mysterious plants in our history deserves.
Can you come with us?
Clover Basics
Clover needs water, sun, and lime (in most soils) for good germination. Clover obtains phosphate and potash from the soil and nitrogen from the air through bacteria that live in its roots.
Lime is necessary to raise soil pH into the neutral range (6.0 to 7.0 for best performance). In acid forest soils (especially in areas of acid rain), clover simply will not grow without lime.
Lime will also release phosphate and potash from dark forest soils reducing the need for fertilizers. To ensure the success of planting clover seeds, do a soil test to check the pH of your soil.
This will allow you to use the proper amount of lime for better germination and establishment.
Clover is a hardy plant and can thrive in most soils (from sandy to clay) and in conditions ranging from full sun to partial shade.
Plant clover in spring or early summer, when the soil is soft and moist from the spring rains. It can also be planted in September or early October in most places. Clover seed is very small, so you may want to mix it with lime or fertilizer to give yourself more substance to work with.
Don’t use strong fertilizer on clover, as it can burn the fine roots of the plant.
ground preparation
It is difficult to remove clover weeds, as broadleaf herbicides also kill it.
Therefore, it is essential that clover-competing vegetation be removed before planting.
If you have to till or plow the soil before planting, be sure to wait 4-6 weeks for new weeds to emerge so you can kill them before planting the clover seed.
You can also use the no-tillage method.
Cut or burn existing vegetation in spring, wait until it greens up for perennial weeds and seeds to emerge.
Wait for it to turn brown and then apply lime (if necessary) and plant. The dead straw will provide all the necessary cover for the seed. This will help germination and seed establishment.
If you are planting a small area, remove all living vegetation and simply rake up the soil and remove debris and large obstacles such as large rocks.
Water lightly, but not so much that you wash away the seeds.
Keep the planting area moist until the seeds germinate and the clover is established.
Sun: How much light do you need?
Clover grows in the shade, but not very fast. You may want to double the planting rate if planted in light shade. Clover will not do well in dense shade and is not recommended.
If possible, trim brush, trees, etc. so that the clover receives 4 to 6 hours of sunlight a day.
Water: How and how often do we water?
At the time of sowing it is essential that the new seeds are kept as moist as possible. Under optimal growing conditions, the seed never dries out between waterings.
After clover is established, it generally needs about 60 to 90 centimeters of rain per year to be productive.
Most clovers tolerate poorly drained soil, but no clover will grow where water sits for weeks. It will become thin and eventually die if there is no drainage in the soil.
Sowing
Clover seeds are very small, so a little goes a long way. It should be spread with a broadcast spreader. As mentioned above, you may want to mix the clover seed with lime or low-nitrogen fertilizer to give it more substance to work with.
Clover seed planted more than 2 centimeters into the ground may not emerge; therefore, note that the clover seed is spread on the surface or lightly raked into the soil.
sowing time
Sow in spring when the chill has completely passed and night temperatures remain at or above 10°C.
You can plant until late summer or early fall, at least 6 weeks before a hard frost.
In the south, where snow and frost are rare, you can plant all winter. If you plant when temperatures are warm, clover seeds will germinate in 7-15 days.
Planting and substrate of clover
If you have decided to get down to work and bet on planting this popular three- leaf wonder, get ready because, despite what many think, clover is not a particularly demanding plant, so you can enjoy it with much less effort than you imagine.
The planting of the clover must be done taking into account some aspects such as the dimensions of the land of your garden or pot that you are going to allocate. It is estimated that the appropriate proportion is between 10 and 15 grams of seeds per square meter of surface.
Mix the seeds with a little soil before you start planting. This way you can spread them more evenly over the surface. And don’t forget to finish by adding a thin layer of 2 centimeters of organic mulch once you have the seeds scattered.
The substrate you choose to plant your seeds in will determine how successful you are at starting to sprout. The soil must be more acidic than saline, since its properties also require a substrate rich in phosphorous.
Clover Care and Watering
Clover is a plant that is very grateful to water, so we will not have to skimp on it when it comes to watering it. Keep the soil moist at all times, this way you will allow the first stems to emerge as soon as the first week has passed.
As you can see, it is not a very demanding plant and your attention to these simple tips will be rewarded with the emergence of its leaves in just a few weeks. Clover can adapt to almost any environment, except in areas where frost is present.
Its properties allow to fix the necessary amounts of nitrogen in the soil, so we will not have to worry much about including it additionally in the fertilizer that you use. Of course, potassium must be present in your choice, since the plant needs its properties to develop.
If you want to set a specific date where you can start sowing, watering and caring for this plant, we recommend that you do it as soon as the cold days are over, with the arrival of spring. The soil will be moist and the temperatures conducive for the plant to grow in all its fullness.
Extra Considerations When Planting Clover
Sow between March 15 and September 15
Clover grows best between March 15 and September 15.
Sowing in early spring is not recommended.
It is better to plant clover after some grains or potatoes.
This gives this plant time to develop well before winter and it will be less vulnerable to weed pressure.
Clover needs water during germination much more than grass, so it is important to plant clover when you know rain is due. Time planting time to coincide with the correct expected weather conditions.
Check soil acidity
Clover does not like acid soil.
This inhibits growth. A pH of 5.2 to 5.5 is optimal for sandy soils, a pH of 6 to 6.5 is ideal for clay soils.
If you take a soil sample, you will know precisely how much lime the plot needs. Also pay attention to the nitrogen supply capacity of the soil.
A value below 150 is ideal for clover!
Clover establishes best in soil poor in nitrogen. For this reason, you may decide to stop fertilizing the plot temporarily at the time of planting grass/clover.
Mix, mix and mix again
Clover and grass seeds are different in size and weight, which means they can be separated in the planter.
A good mix is key to spreading and distributing clover well throughout your lawn. Mix the seed up to a maximum of 1 ha. When planting white clover, use a seed rate of 2 to 5 kg per hectare and 5 to 10 kg per hectare for red clover.
With late planting, the amount increases to 1-2 kg.
Do not plant too deep
Clover seed is finer than grass seed.
For proper growth, do not plant clover deeper than 2 cm. The optimal planting depth for clover is 0.5 to 1 cm. After sowing, you can tamp the soil with a roller to encourage optimal germination.
Select the clover mix that suits you best!
There are various mixtures of clover.
Each clover has its own specific traits. Therefore, select the clover that best suits your garden. A common rule of thumb: red clover is suitable for cutting, white clover for grazing.
Plagues and diseases
One of the main concerns when planting our favorite plants is always the risks to which they are exposed. Suffering from a plague or disease could ruin our project, so it is essential to always be vigilant.
There are several pests that can affect clover, since there are many species that can make this plant their main target. We are talking about aphids, butterflies, ladybugs, bedbugs and even beetles.
They feed on its leaves and stem, biting the surface and can even spoil the entire plant if we do not prevent it. The same happens with diseases, they must be stopped as soon as possible to prevent their spread.
A good home remedy could eliminate this type of problem, although it will be necessary to analyze what type of pest is affecting the clover and choose the appropriate remedy accordingly. Garlic cloves or soapy water are natural remedies that combat the presence of aphids and mealybugs on plants. Although there are also chemical remedies to resort to.
Clover is a beautiful plant that, although it is often tried to eliminate when it interferes in the middle of the lawn, deserves attention and a corner in our garden. If you take care of it with these tips, you will have the most famous Irish symbol in the world.
Benefits of planting clover in your garden
- Being a legume, the clover plant improves nutrients from poor soil. Clover has the ability to convert nitrogen into fertilizer using bacteria in its root system, virtually eliminating the need for additional fertilization.
- White clover (Trifolium repens) is the most common clover for lawns. Uncut white clover grows 4 to 8 inches tall and produces small white flowers that are often tinted pink. It is a fast spreader that expels broadleaf weeds while growing in harmony with the grass.
- Like white clover, red clover (Trifolium pratense) is native to Europe, but has become naturalized in North America. It produces attractive purple flowers and typically grows taller than white clover (a little too tall compared to grass).
- Clover is one of the first plants to turn green and thrive in spring. It is an extremely drought resistant plant and will maintain its green color
- cool even during the hottest and driest parts of summer.
- Clover will also thrive in areas that are poorly drained or too shaded for a conventional lawn.
- The flowers not only create a beautiful visual effect, but also attract bees, butterflies, and beneficial insects that prey on garden pests.
- Bees rarely sting when they’re away from their hive, but if they make you uncomfortable or you’re allergic to bee stings, simply have them mow more often when the clover is in bloom. Or, grow clover on surfaces where there is little turf activity and the desired result is more aesthetic than functional.
Image, Pixabay
![Photo of How to Plant Sweet Potatoes Step by Step [Images + Complete Guide]](https://www.complete-gardening.com/wp-content/uploads/2022/08/how-to-plant-sweet-potatoes-step-by-step-images-complete-guide-390x220.jpg)